
I have been making homemade burners for 15 years so this one has been in the works for awhile. With this new kiln I really wanted to figure out how to build a primary air flap that was attached to the burner itself. I’ve seen other designs with air flaps attached with small screws tapped into the bottom of the pipe and the flap that swung to partially cover the air intake. I guess I didn’t really like that design… Call it aesthetics, call it stubbornness… Call it a glutton for punishment, I didn’t want those flaps.
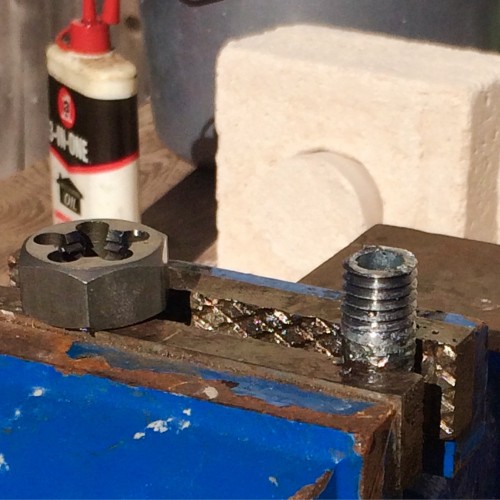
After many false starts and failed attempts I decided on using a die to tool 9/16″ standard thread (NC–National Coarse) that I could attach a thin Jam nut with a circular sheet metal circle welded to it. By threading the nut up and down would increase or decrease the air gap just like a commercial burner.. Once those were in place I then went back and used a 1/4″ pipe thread die (NPT-National Pipe Thread) to enable the whole burner assembly to be tightened onto the 1/4″ Street Bend of the burner plumbing.. To come soon.
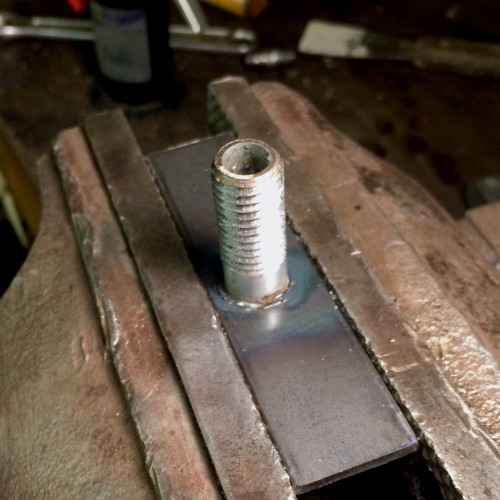
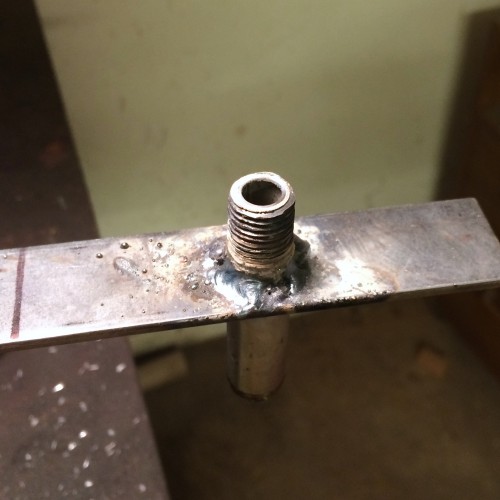
On this image notice that I had to weld the section of 1/4″ nipple to the piece of 1″ flat steel that will attach to the bottom of the Burner. This was my work around by not having a pipe vise.